
I know this has been a long time coming, but the reveal is finally here! The bed came with no shortage of mishaps and extra trips to the hardware store, but all in all I am really happy with the results and Mia couldn't be happier with her "big girl" bed!

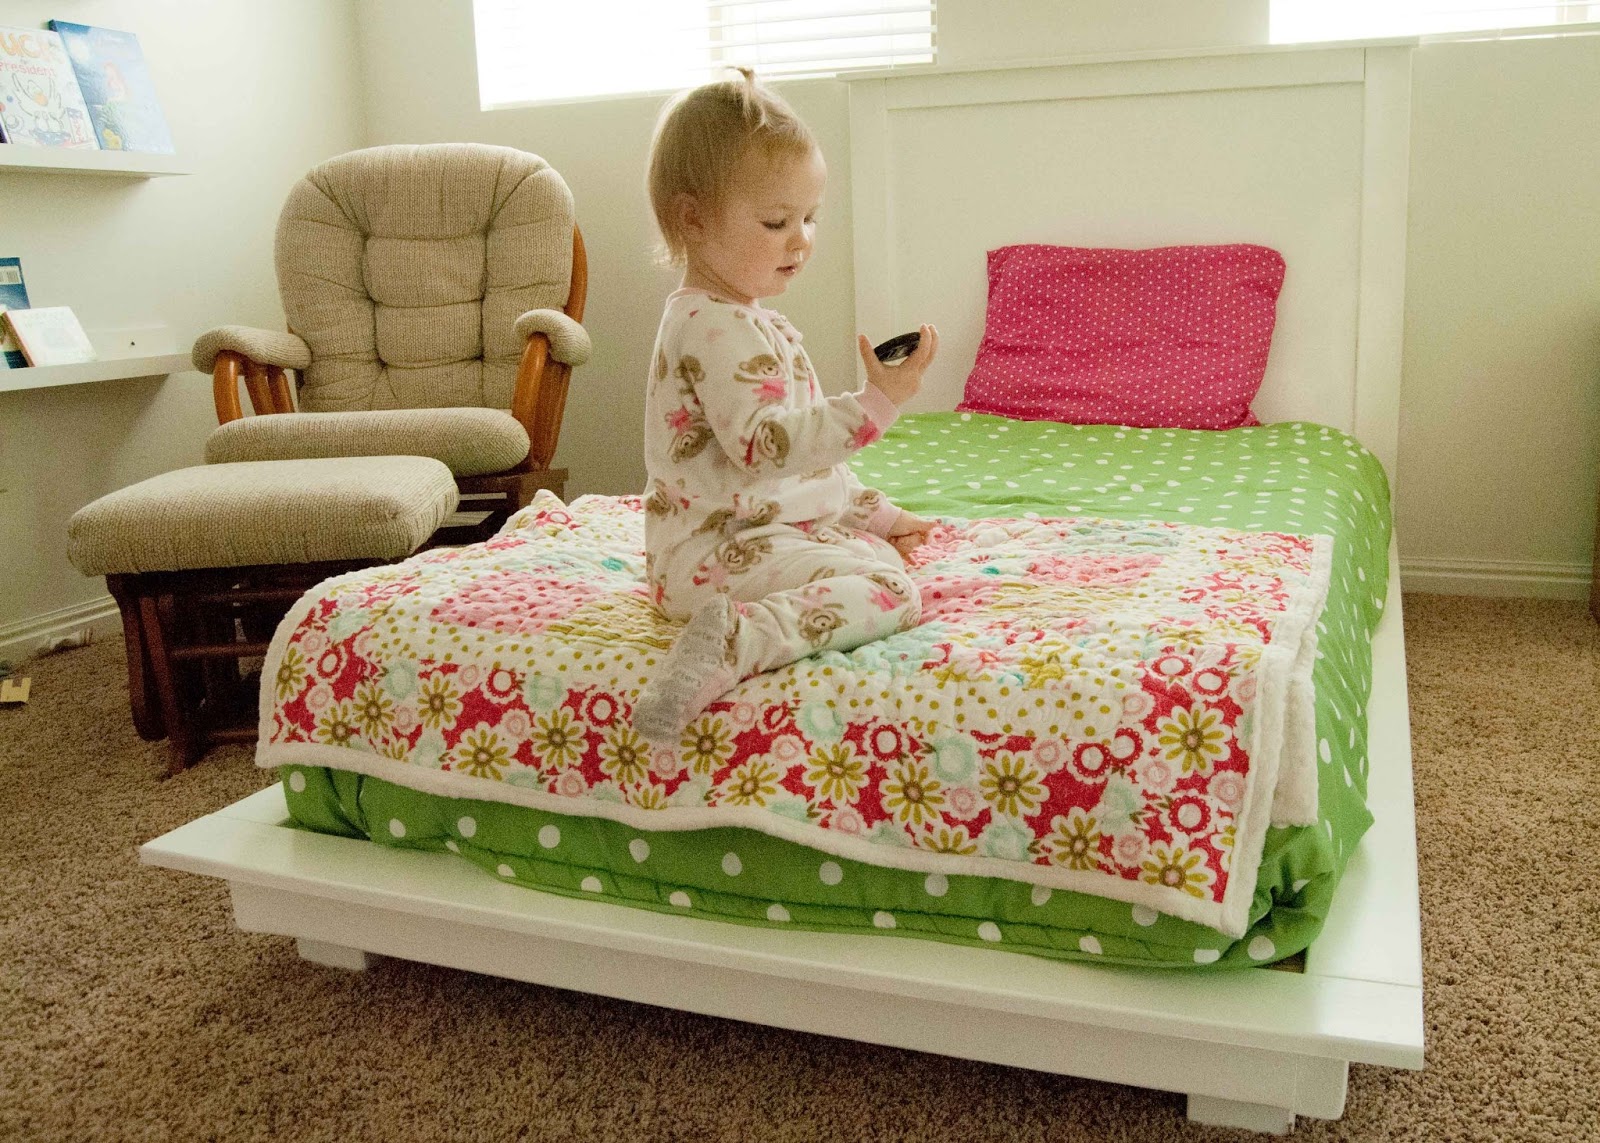
We made this bed and headboard from Ana White's tutorials HERE and HERE. I love how simple her designs are and I loved that this bed was low to the ground to make it easy for Mia to climb into! However, here are some things we learned in the process if any of you decided to get ambitious like us and try something like this yourself!
1.) I feel like anything I've built, the price that it took someone else to build it always seems to cost me almost double. In the scheme of buying a brand new piece of already built furniture, building one yourself still saves a lot of money! Basically just plan on spending a little more money. On her site she said it cost her $150 to build both beds so about $75 a bed. It probably cost us about $120 with supplies and everything to build one bed with the headboard.
2.) Unless you're super on the ball and pay really close attention (unlike me) plan on there being some bumps along the way. I see things like this online and feel like they make it look SO easy and painless and I forget about mistakes that always are made during projects. Our bump along the way of building this bed and not the first time we've had this problem is we had Home Depot make all of our cuts and they are not always super great at making the cuts exactly to the size you want them. This resulted in a few extra trips back to the store to get the right cuts and in one case even having to buy a new piece of wood! So if you're having someone else make your cuts make sure you double check their measurements before leaving the store! We also made a few measuring and drilling mistakes of our own which also called for some more wood so that is also why the price to build the bed was a little higher for us too.
3.) In the tutorial they built the bed and headboard using pocket-hole screws, something we didn't own and it was a little pricey to invest in just for this project so instead we went with countersink screws that screw flush into the wood and then I just filled the holes afterwards. This added a little more work, but definitely worth the savings.
4.) One last little tip if you ever plan on making this bed, especially for a child. For the wood that makes the ledges on the platform bed we got wood that had already rounded corners that would make it a little more safe when Mia would step off and on the bed or if she ever fell out of bed...something which she hasn't done yet luckily!
In conclusion and minus all our little mistakes, this bed was very easy and simple to build. It took us around a half a day to build each of the bed and headboard so about a whole day in total (6-8 hours) and if you're pro at this kind of thing it would take no time at all!...Needless to say we are not!


And I need to give a big thanks to my amazing husband who practically built the whole thing himself with some help from me holding the wood in place for him from time to time. He was also such a good sport, especially when my perfectionist side would come out. I couldn't have done this without him!
Linked To:
http://ninthstreetnotions.com/2013/03/i-made-it-monday-53.html
http://www.therusticpig.com/2013/03/25/creatively-tuesday-27/
http://www.mercyinkblog.com/2013/03/printable-spring-stationary-heart-home-39.html
Amen to the whole diy "always costs me more than the tutorial". My projects ALWAYS end up costing WAY more. I think you guys did great!
ReplyDeleteGreat job Hanna! Thanks for sharing about the whole process too! You guys did a great job.
ReplyDeleteWonderful job! Sooo beautiful! Love the white finish. Looks expensive even though it isn't. Thanks for posting your adventure. Inspiring!
ReplyDeleteHi Hannah, first of all I want to say that your baby girl is adorable and seems to really love her new bed! Second, I am a DIY'er that has all the tools I need but I am happy to see that you added "things we learned in the process" of making your new bed as even people without tools can make these projects. You did a fabulous job! OR should I say your husband did a fabulous job with your help of course! : )
ReplyDeleteOH and I forgot to say that I have 2 nieces, 2 years old and another 3 months old AND one on the way that I want to make these beds for!
DeleteId recommend sa.ding those corners so they are rounded and adding foam or something soft around the platform because Ive had a bed like this and my shins got totally beat up from knocking into the platform at night when getting back in bed after a middle-of-the-night bathroom run.
ReplyDelete